
TEMPLATES
**Please note: Standard templates use fonts that should be installed on most computers. Branded templates use the University’s branded fonts. To download UF’s brand fonts, visit the Brandcenter downloads page.
If you have questions about using the templates below, don’t hesitate to contact us.

Accessing Canva Templates
To access and use Canva templates (identified below), you’ll need to take the following steps:
- Create a free Canva account.
- Once your account is set up, make sure you are logged in, then click the link to open the template in your browser. The template should automatically be added to your account, but if it is not, go to File > Make a Copy to make an editable version of the template in your account.
- Please DO NOT request edit access.
Templates
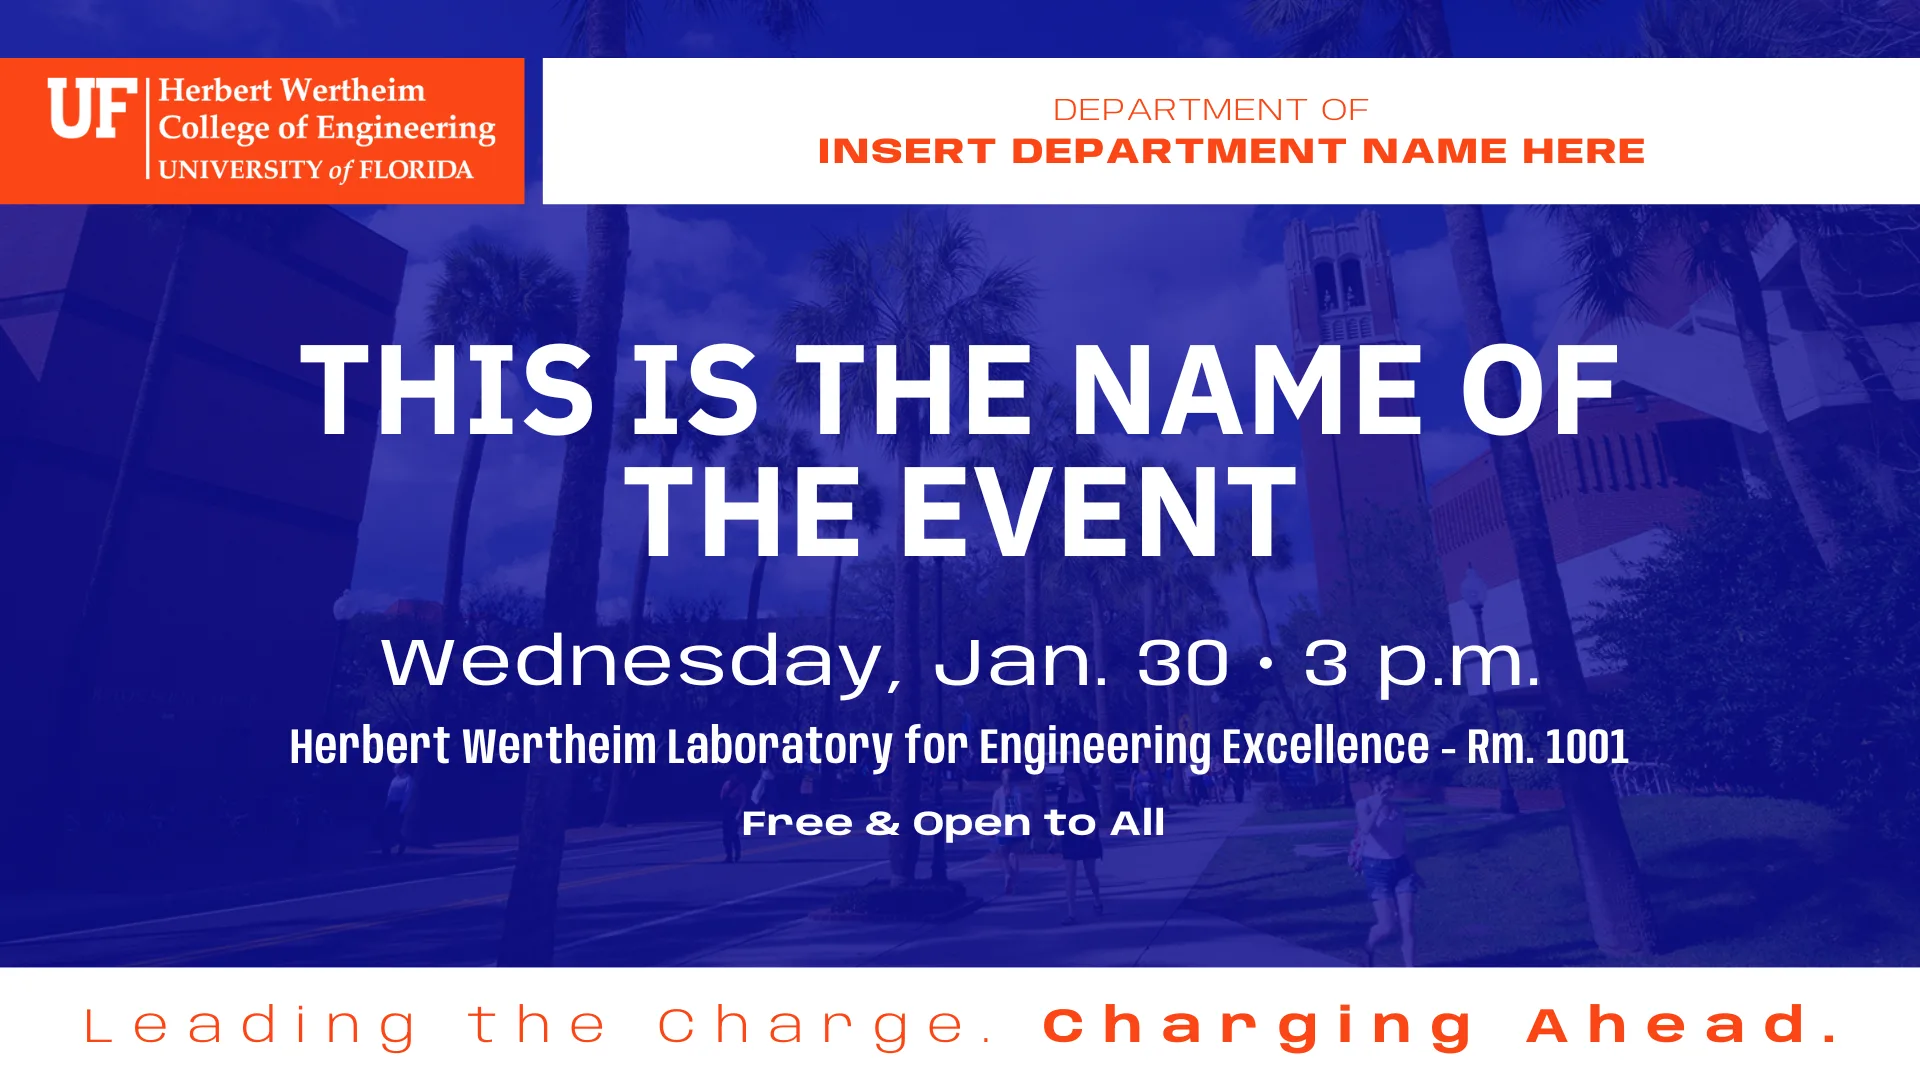
Digital Signage


PowerPoint Slide Decks
These templates are designed for live presentations, and the existing content within them meets ADA accessibility standards. If used for digital distribution, the user is responsible for ensuring that the final file complies with ADA accessibility standards. Visit the Microsoft site for more information on making your PowerPoint accessible.
Standard Definition (4:3)
High Definition (Widescreen 16:9)
Posters
These templates are designed for print use only. If adapted for digital distribution, the user is responsible for ensuring the final file meets ADA accessibility standards.
PowerPoint
Printed Materials
These templates are designed for print use only. If adapted for digital distribution, the user is responsible for ensuring the final file meets ADA accessibility standards.
Postcards (InDesign)
Postcards (Canva)
Social Media
Departmental Email Signatures
Having a branded email signature helps maintain brand consistency and institutional identification. Visit the UF Brand Center for more information on what should be in an email signature and use their Email Signature Generator to create a custom signature.
Eblast Templates
Overall Email Best Practices
- In general, it’s best to avoid image-only emails as they aren’t necessarily downloaded by email servers.
- Please use alt text for all images to improve audience accessibility.
- Reserve underlining for linked text only as a rule of thumb.
MailChimp drag-and-drop templates (requires a free MailChimp account)
- Single Column [sending via Salesforce or Outlook/Mailchimp]
- Two Column [sending via Salesforce or Outlook/Mailchimp]
- Event Invitation – Two Column [sending via Salesforce or Outlook/MailChimp]
- Event Invitation – Single Column [sending via Salesforce or Outlook/MailChimp]
Sharing your Draft Email from MailChimp
If you are working on an email and need to share it, follow the guidelines below to create a link that will give you an online version of the email for others to review.
***Please note: This is NOT how you share a template.***
- Go to the Email Templates section and click the arrow to the right of the email you’d like to share.
- Click “Create Email,” creating a campaign for this email.
- When your screen reloads, click “Finish Later” at the top.
- In the All Campaigns window, click on the arrow to the right of the email campaign you’d like to share, and click “View Email”
- Copy the link that appears and share it however you wish.
- Sign in to your Mailchimp account.
- Select the Mailchimp template you want from the list above. It will be brought into your Mailchimp account.
- For our purposes, this “Template” is actually your email and will produce the code you’ll be sending. Select “Edit” and rename the template to something that fits your campaign. Then, edit as desired. See http://kb.mailchimp.com/ to learn how to add and subtract fields, edit text, upload images and other tasks.
- You will need to create a header image to replace the one in the template. Pixlr (https://pixlr.com/editor/) is an online image editor you can use if you do not have one installed on your computer, and HWCOE logos are available at https://www.eng.ufl.edu/marcom/resources/branding-style-guide/.
- Header image should be 600px wide, and we recommend the height not exceed 400px.
- Add alt text to all of your images.
- Make sure to edit your address and the links in the footer, as well as social media links if applicable.
- ***Federal regulations require that accurate contact information and a link to unsubscribe from future emails appear in any marketing or solicitation email you send.***
- When you’re done editing your email, select “Preview and Test” (top right corner) and then “Send a Test Email.” Enter your own @ufl.edu email address in the address field and choose “Send Test.”
- Once the test email shows up in your Outlook inbox, choose “Forward” (select “Yes” in the dialog box that pops up asking if you want to download external content) and then remove the header information from the top of the email, edit the subject line and send to your recipient list.
- To create another email, make a copy of one of your existing emails: go to your Templates list in Mailchimp and choose Edit > Replicate next to the desired email. Then edit that copy as needed, send a preview and forward to your recipient list as in steps 3-5 above.
- Sign into your Mailchimp account.
- Select the Mailchimp template you want from the list above. It will be brought into your Mailchimp account.
- Edit your email as desired. See http://kb.mailchimp.com/ to learn how to add and subtract fields, edit text, upload images and other tasks.
- You will need to create a header image to replace the one in the template. Pixlr (https://pixlr.com/editor/) is an online image editor you can use if you do not have one installed on your computer, and HWCOE logos are available at https://www.eng.ufl.edu/marcom/resources/branding-style-guide/.
- Header image should be 600px wide, and we recommend the height not exceed 400px.
- Add alt text to all of your images.
- Be sure that your address, social media links, etc. in the footer are correct.
- Ensure the link in the preheader that says “View this email in your browser” goes to
*|ARCHIVE|*
- Send to your email list. See http://kb.mailchimp.com/ for instructions on how to set up Lists.
Submitting your email request
- Submit a project request (Graphic Design/Branding > Emails > Send my email via Salesforce) with your project name, desired send date, subject line and preheader text, and your mailing list (if you have it).
- The project name should be descriptive and short (e.g. CISE Fall 2024 Newsletter Chairs; MSE 2024 Holiday Card; ISE 2024 Magazine, etc.)
- Important: UF Advancement requires at least 2 weeks’ notice for an email send request. This time is increased if you need a list of alumni pulled (see #2 below).
- If sending to alumni: Contact Meghan Jacobsen in the Engineering Development office to request an alumni mailing list to your specifications.
- This may take a week or more to come back; build this time into your project.
- As soon as you get the list, send it to marcom@eng.ufl.edu and note the project name.
- We’ll contact UF Advancement and request an email send.
Using the Mailchimp template
- Sign into your Mailchimp account.
- Select the Mailchimp template you want, and it will be brought into your Mailchimp account (NOTE: these have been updated Feb. 2026 with code required by Salesforce, so make sure you have the SALESFORCE version of the template).
- For our purposes, this “Template” is actually your email and will produce the code you’ll be sending. Select “Edit” and rename the template to something that fits your campaign. Then, edit as desired. See the Mailchimp Help Center to learn how to add and subtract fields, edit text, upload images and other tasks.
- You will need to create a header image to replace the one in the template. Pixlr is an online image editor you can use if you do not have one installed on your computer, and college logos are available in the branding and style guide.
- The header image should be 600px wide, and we recommend the height not exceed 400px.
- Make sure to add alt text to all of your images.
- When you’re done editing your email, select “Save and Exit” (lower right corner)
- From Campaigns > Email templates, mouse over your email and choose More options > Export as template; confirm “Export Template” in the dialog box. This will download an HTML file.
- Open your downloaded HTML file in a text editor and make the following edits:
- Ensure the link in the preheader that says “View this email in your browser” goes to
%%view_email_url%% - Add the following at the end, just above the closing </body> tag:
<custom name="opencounter" type="tracking"></custom> - You may add your department/office address in the footer, but make sure the following lines in the footer stay intact. Salesforce will not send without these lines.
%%Member_Busname%%<br />%%Member_Addr%%<br />%%Member_City%%, %%Member_State%% %%Member_PostalCode%%</p><p><a alias="Manage Subscriptions" href="%%subscription_center_url%%">Unsubscribe/manage subscriptions</a> • <a alias="Manage profile" href="%%profile_center_url%%">Manage your profile</a></p> - Copy and paste the entire email’s code into HTMLEmail; save the result into a new file. This is the file you will provide to MARCOM to add to Salesforce.
- Ensure the link in the preheader that says “View this email in your browser” goes to
- Open your HTML file in a browser window and test that all of the links work properly and that all your images have alt tags (right-click > inspect each image to view the source code and see if an alt tag exists).
- Download the Plaintext Email Template. Open the downloaded file in a text editor, add your subject line and body text and save.
- Send us an email with your project name, attaching your HTML file and your edited plaintext.txt.
- We’ll load it into Salesforce and reply with test emails.
Avatar (PSD file)
Twitter/Facebook and Instagram Graphic (PSD File)
Twitter/Facebook and Instagram Graphic (PSD File)
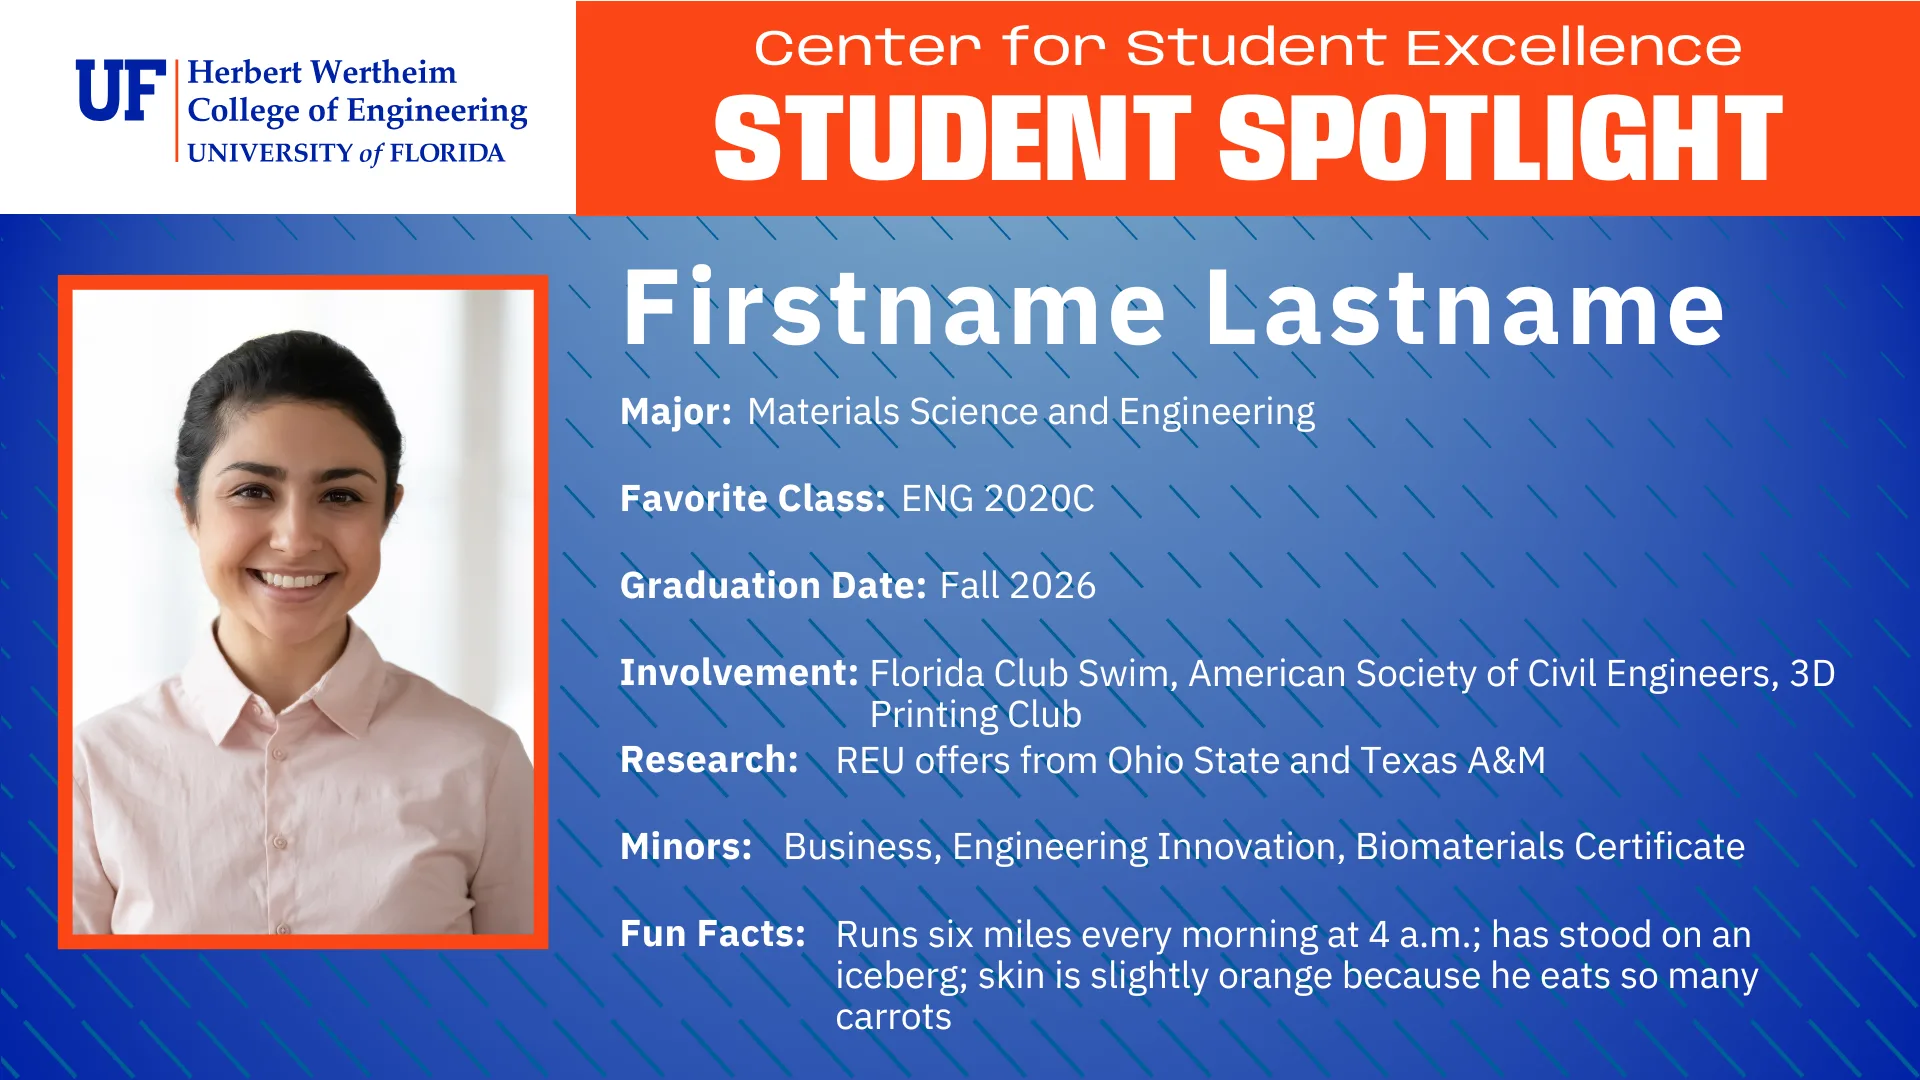
Student Spotlights – X/Facebook/Instagram (Canva)